
Amazon Workspaces Secure Browser
Amazon Workspaces Secure Browser offers a secure environment for users to access private websites, SaaS applications, and the public internet. It operates within the user’s local browser, streaming encrypted pixels from a remote session hosted in the highly secure AWS cloud. Starting at just $7 per month, it eliminates the need for managing specialized client software, infrastructure, and VPN connections.
This service is particularly beneficial for organizations implementing Bring-Your-Own-Device (BYOD) policies, as it ensures sensitive web content never directly touches the end user’s device while providing cost-effective, secure access. Additionally, it’s ideal for scenarios like customer support, analytics environments, and safe browsing for high-security networks
End User Experience
The login page for Amazon WorkSpaces Secure Browser is seamlessly integrated with the user’s identity provider (idP). When users click ‘Sign In,’ they are redirected to their respective idP provider’s page (e.g., Entra login page). After successful authentication, users are redirected back to the Secure Browser page, where the application is initiated.

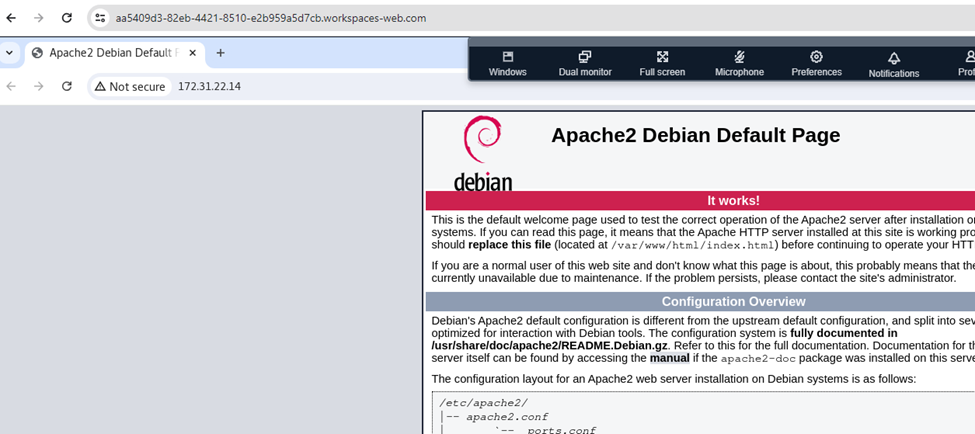
As depicted in the screenshot below, we securely publish an intranet site using Amazon WorkSpaces Secure Browser. Within this environment, you can enforce controls such as disabling clipboard functionality and file transfers. By default, internet access is restricted for Secure Browser instances.
Configuring WorkSpaces Secure Browser
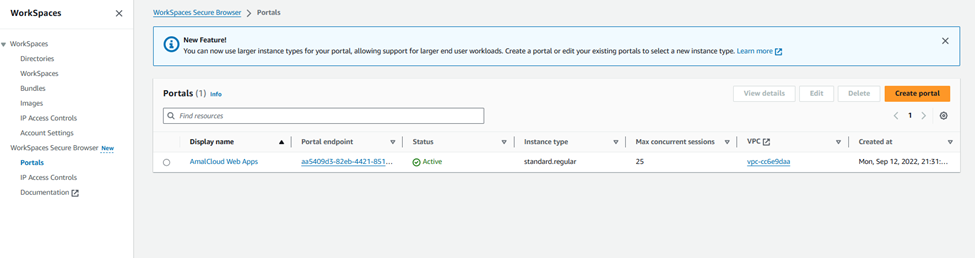
In the AWS Console, navigate to WorkSpaces secure browser. In the Secure Browser home page, click on “create portal” to initiate the creation of new Workspaces Secure Browser.
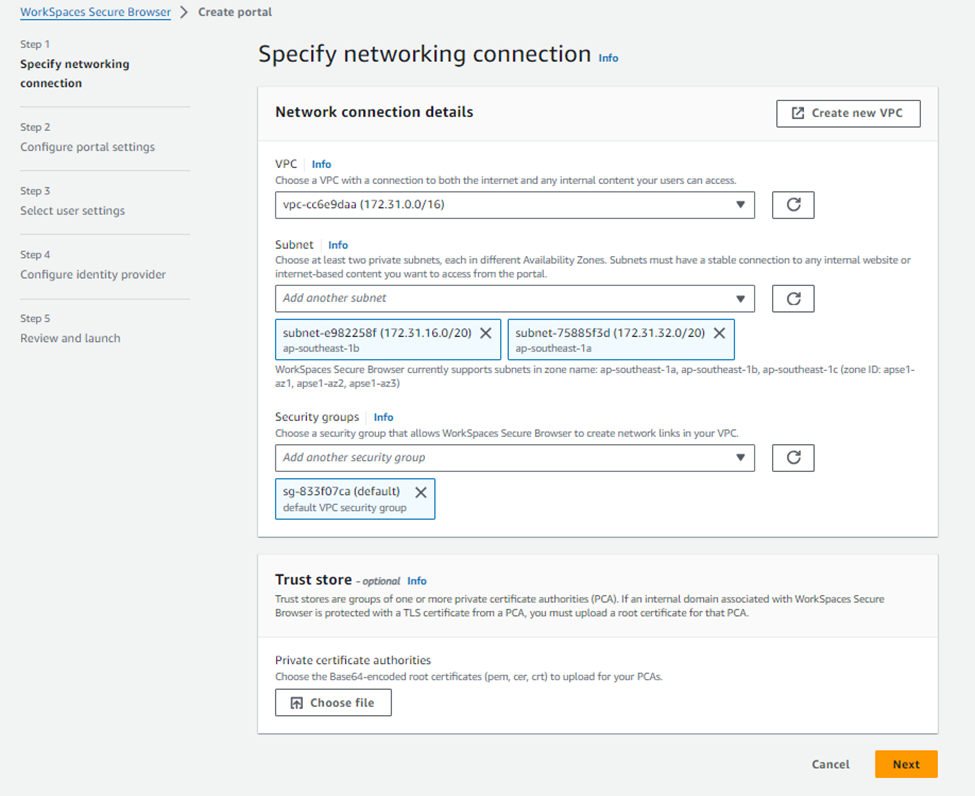
In the “Specify networking connection” page, select your VPC, private subnets and security group where the micro instances will get spin up to handle the workspaces browser and Click next.
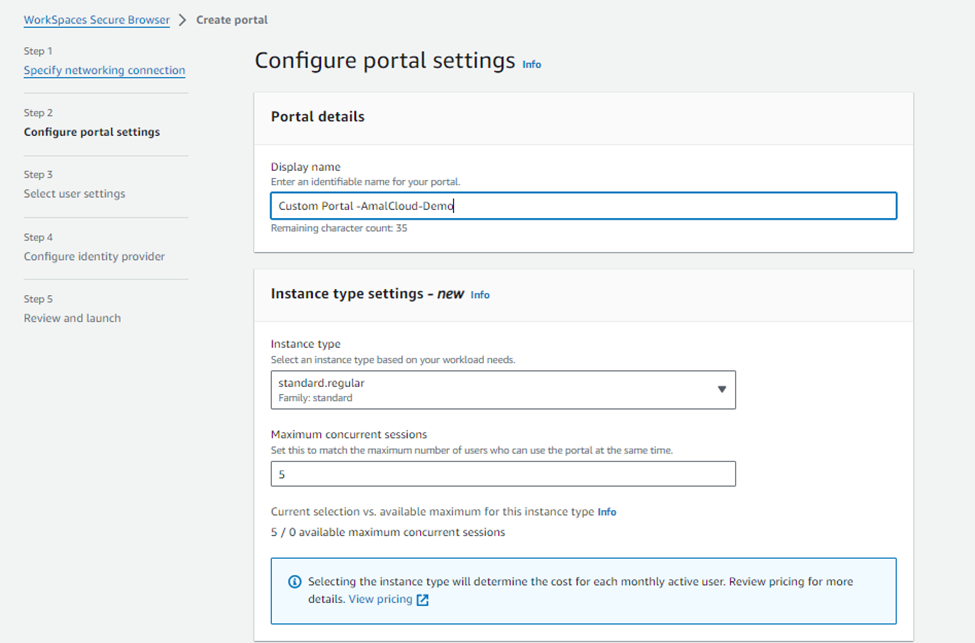
In the “Configure portal settings” page, select the Display name of the portal, instance type and the maximum concurrent users/instance.
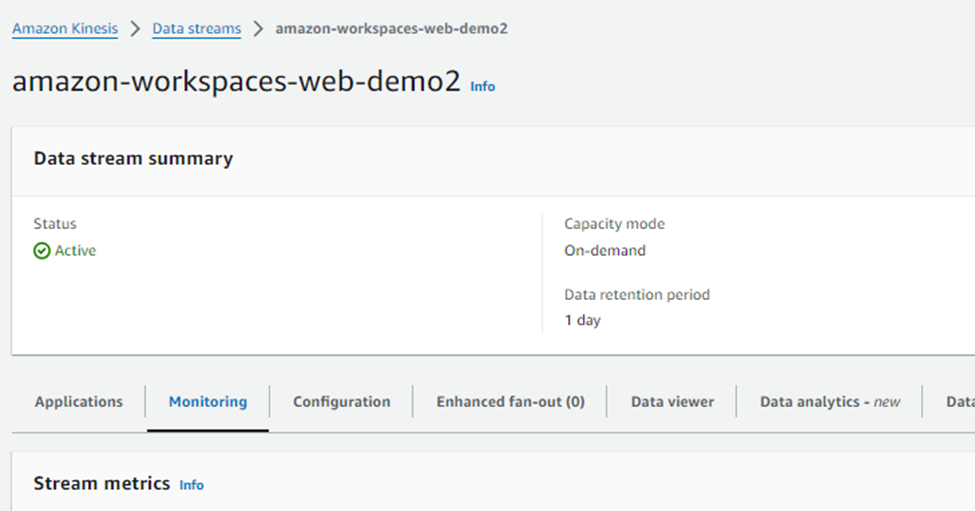
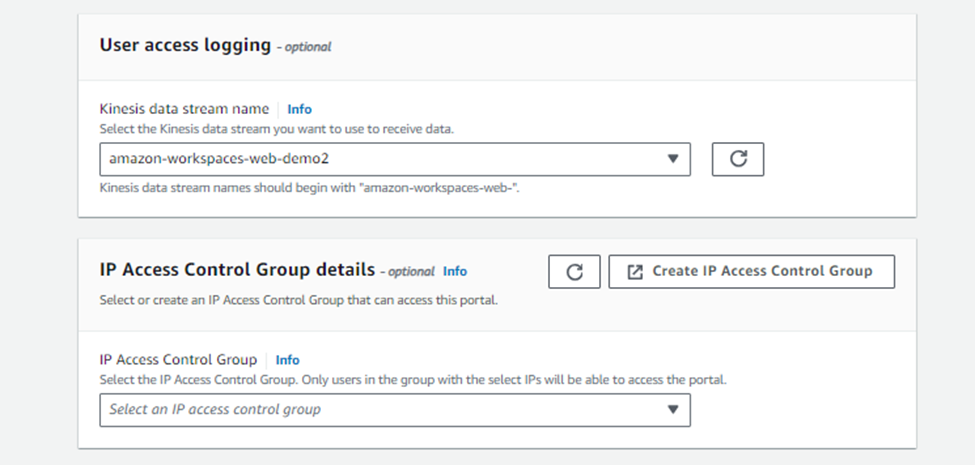
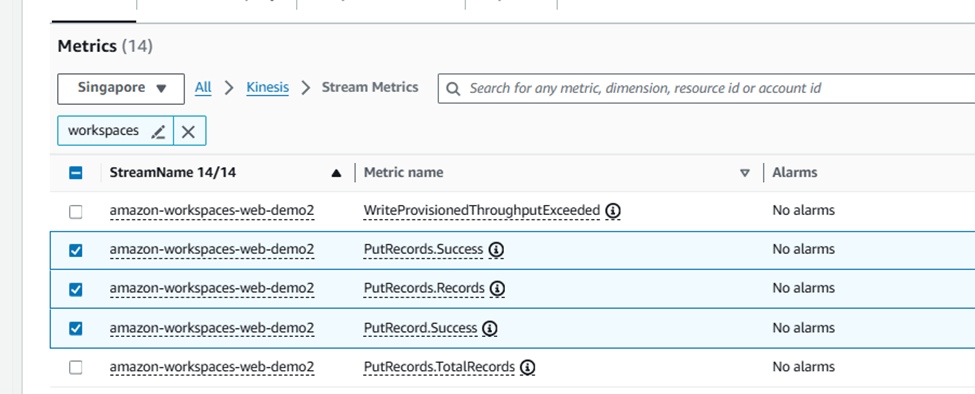
The user access logging is captured into a kinesis data stream. Make sure you create the Kinesis data stream with the naming convention “amazon-workspaces-web-*” and also the server authentication is disabled.
The below screenshot shows the Kinesis data stream created for storing the user access logging details.
You can also enable IP access control to ensure that the users from a particular network is only allowed to access the browser.
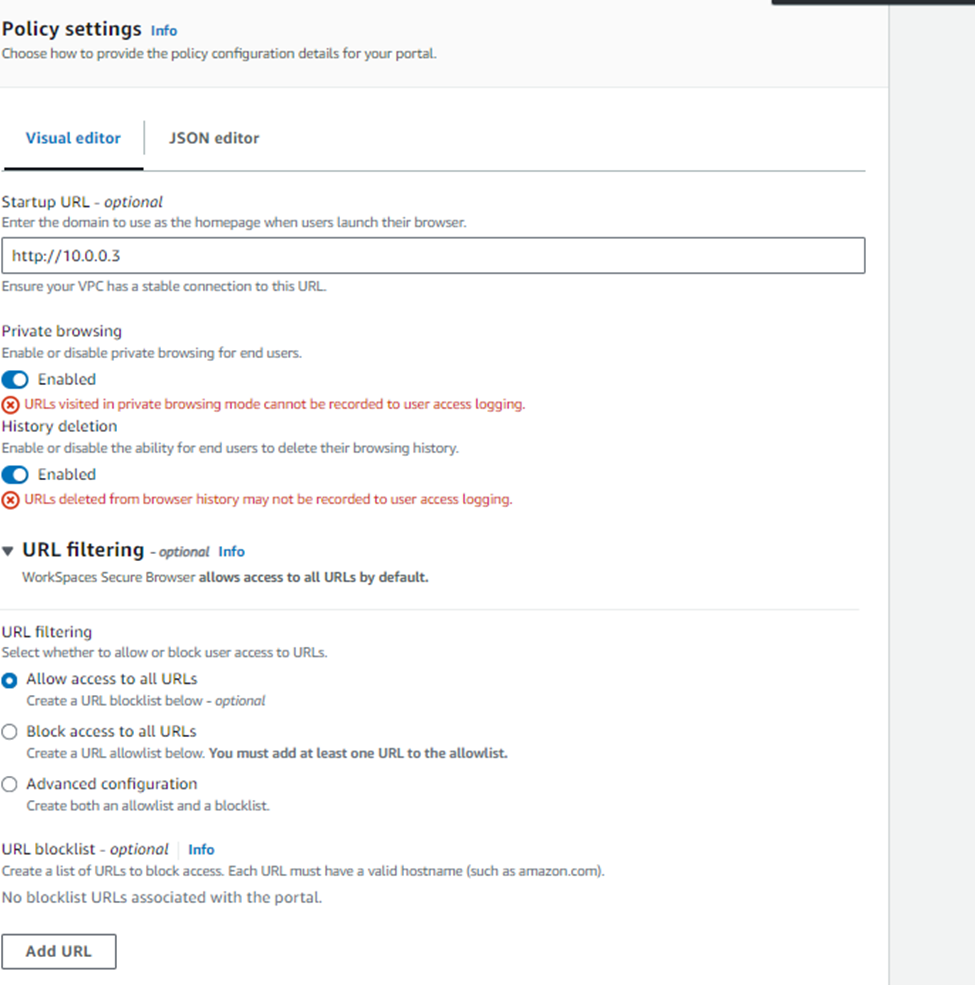
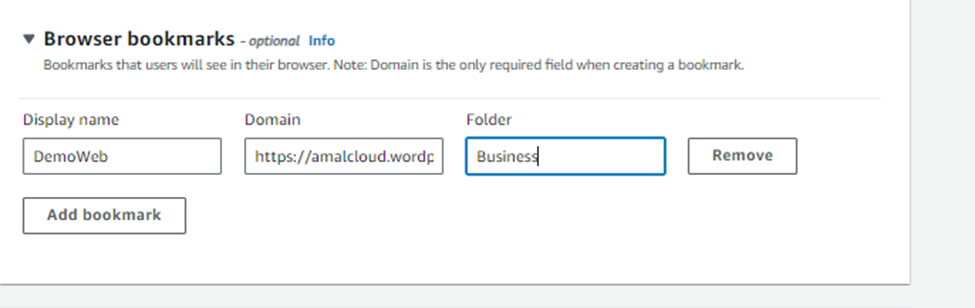
The policy settings allow you to configure your browser startup page, URL filtering to allow and deny specific URLs and also to configure pre-build browser bookmarks.
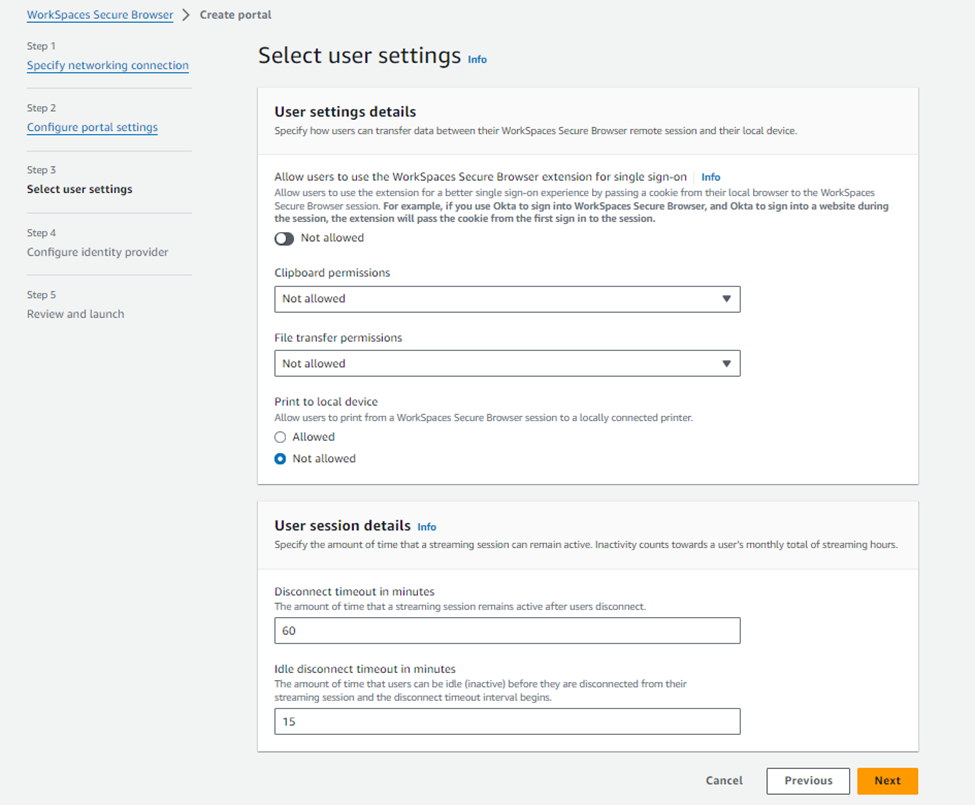
The “select user settings” page allows the administrator to configure clipboard permissions, file transfer permissions and also session timeout settings.
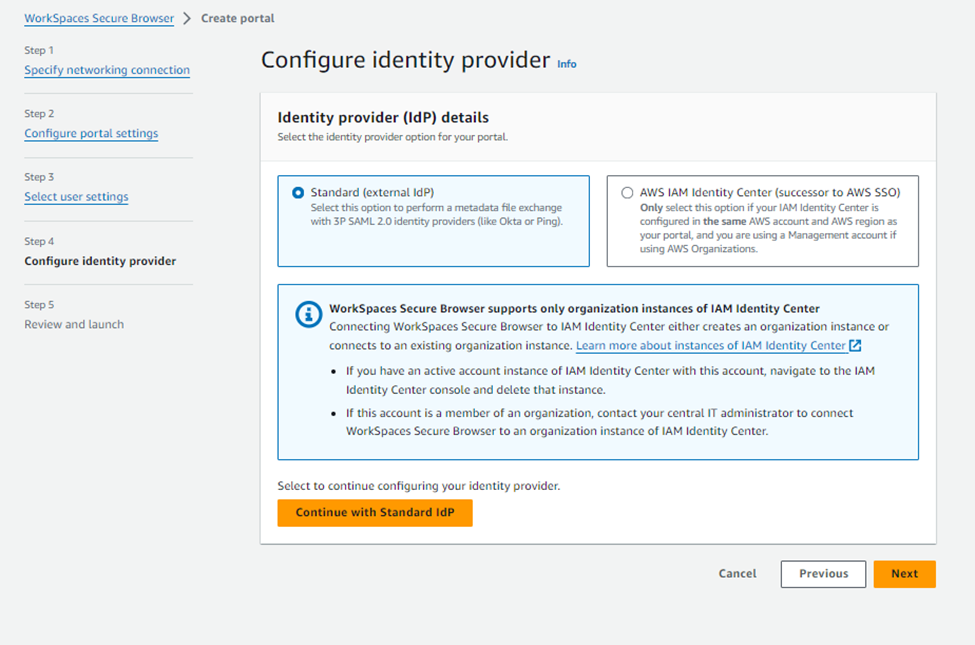
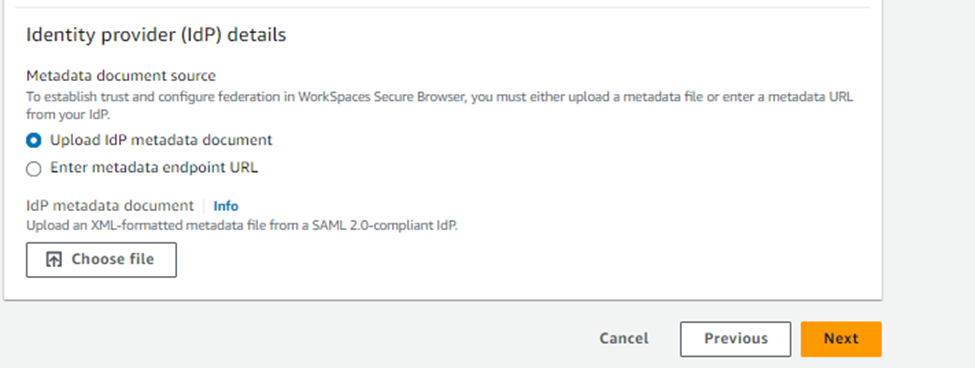
The “configure identity provider” settings allow administrators to integrate the secure browser via idp providers like Entra, OKTA etc.
In this blog post, I used Microsoft Entra for authentication purposes.
Select the radio button next to the “Standard (external IdP) and click on “Continue with standard IdP.
Download the SP metadata file which we will be importing to our enterprise application in Entra.
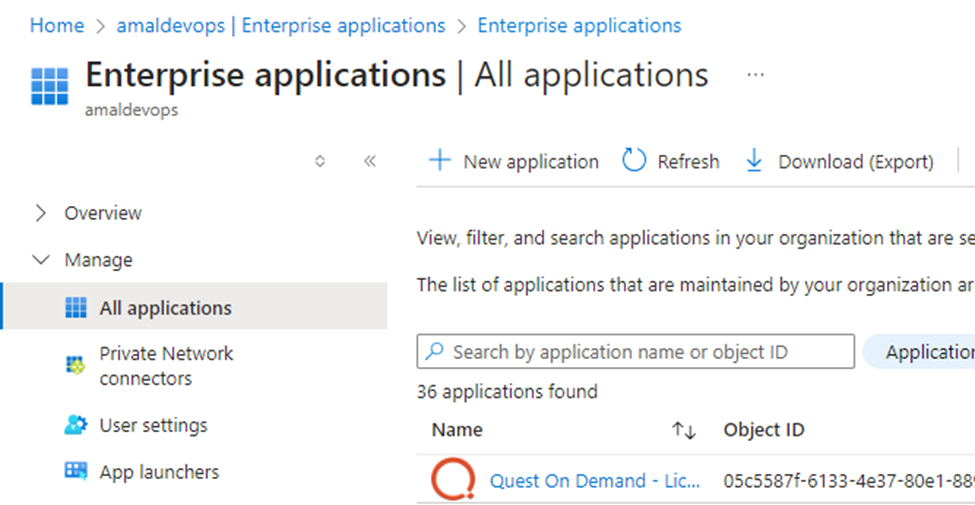
To configure the enterprise application, login to Azure portal and navigate to Entra ID.
Under Enterprise applications, select “+ new application”.
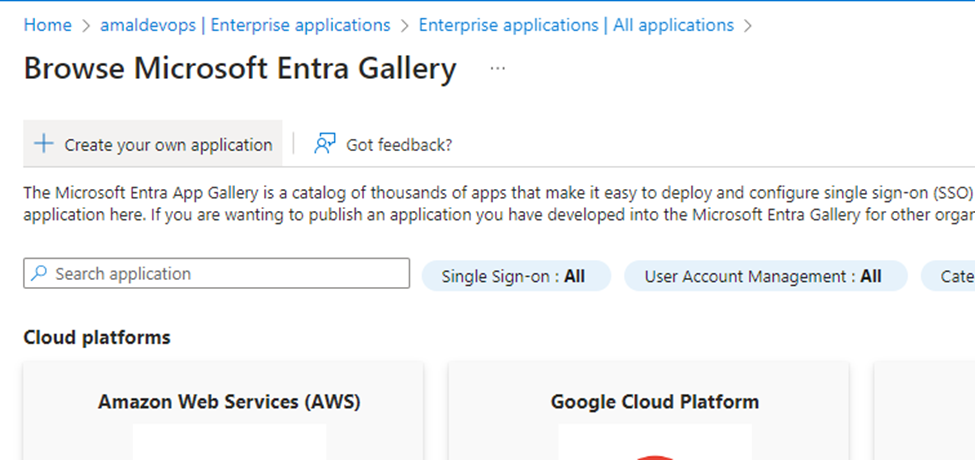
In the Browse Microsoft Entra Gallery page, select “+ Create your own application”.
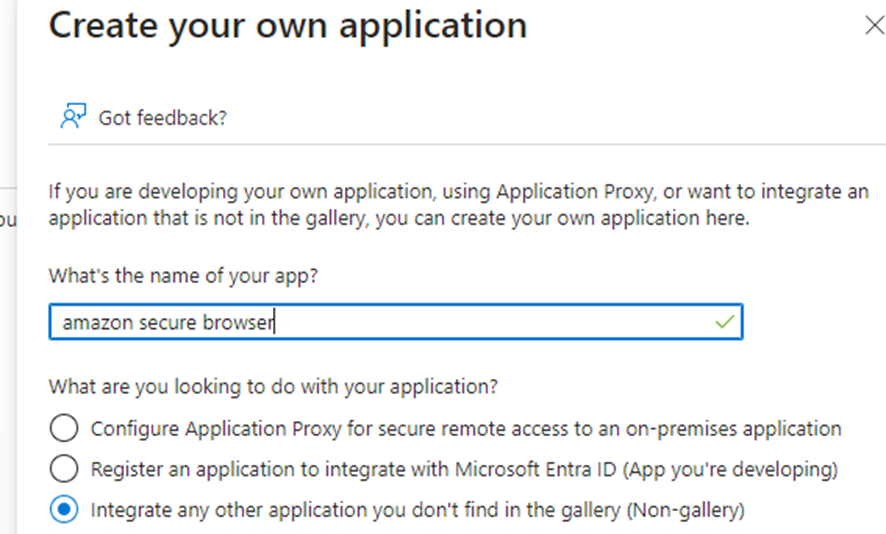
In the “Create your own application” page, select the name of the application and select the radio button next to “Integrate any other application you don’t find in the gallery” and Click Finish.
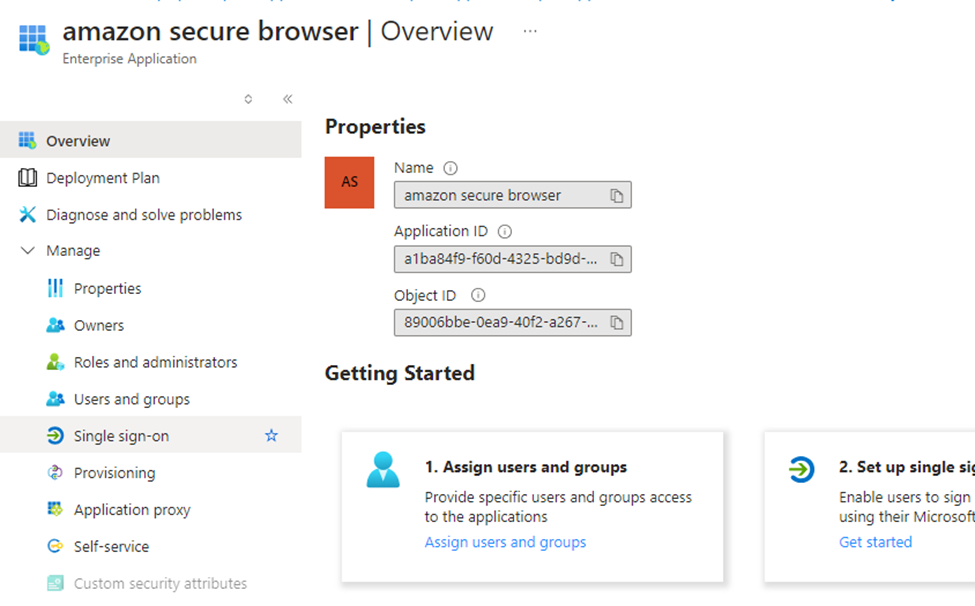
Go to the newly created enterprise application and click on Single sign on.
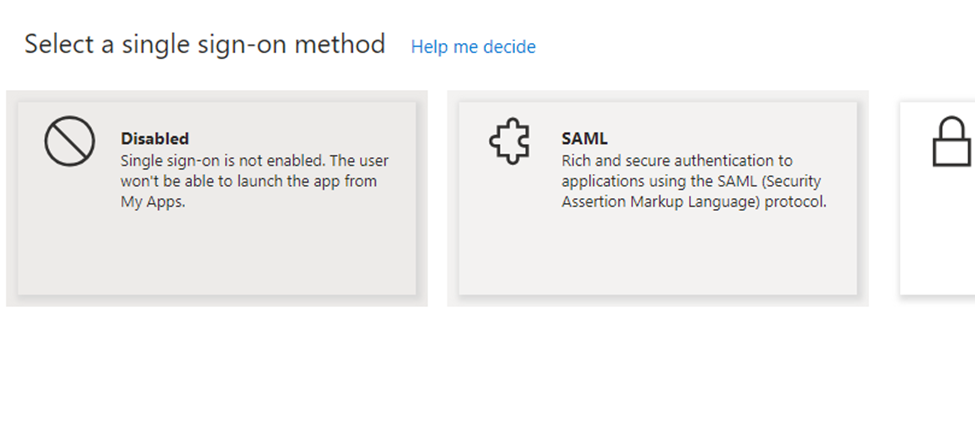
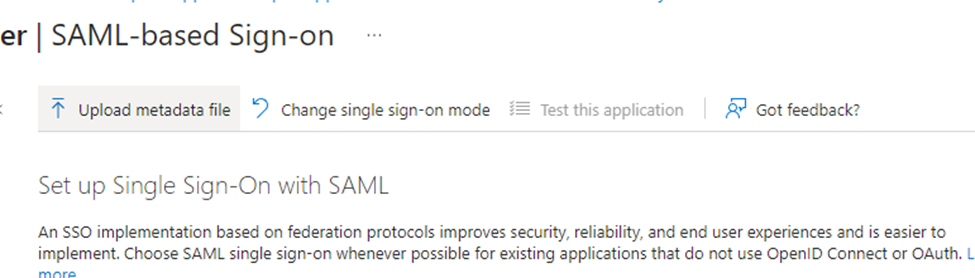
In the single sign on method, select SAML option.
In the SAML based sign-on page, click on “upload metadata file, and select the SP metadata file we downloaded from the aws console.
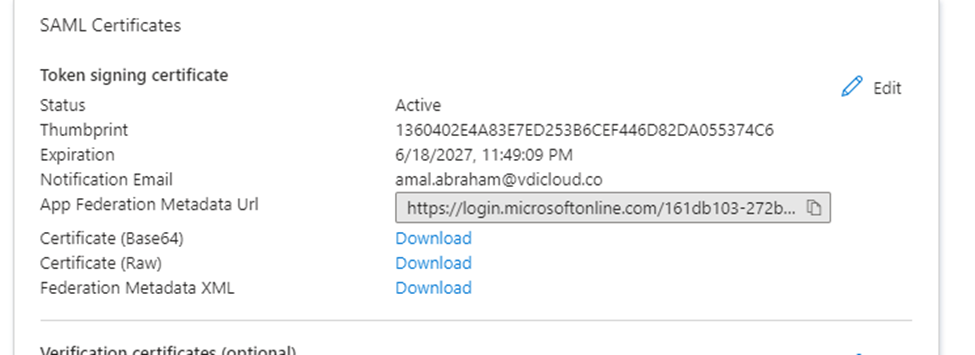
After successfully uploading the metadata file, the App federation metadata URL will get generated. Go back to the Workspaces IdP configuration page and click on the radio button next to “Enter metadata endpoint URL” and provide the URL copied from Entra App page.
In the “Review and launch” page, verify the configuration and click on finish to launch the secure browser.
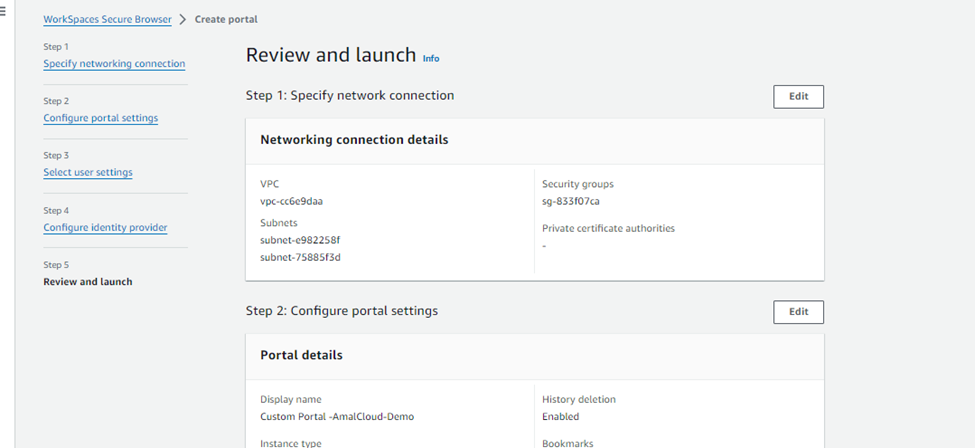
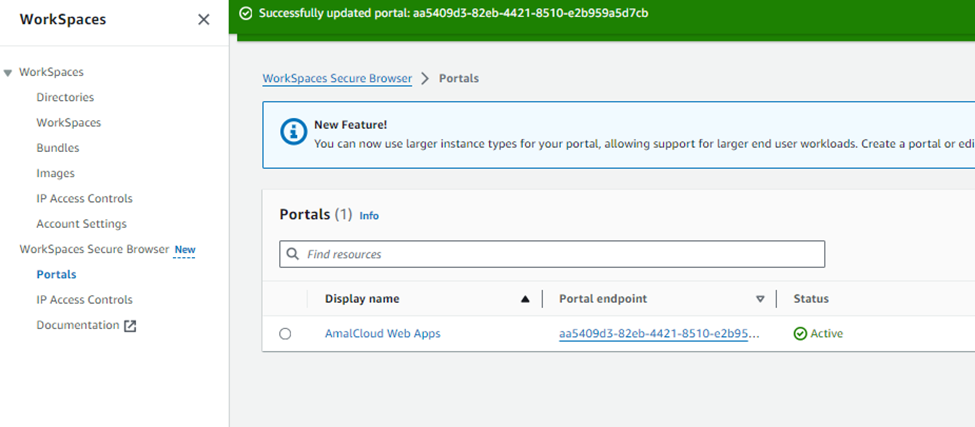
The portal page looks like below and the status will become Active.
Monitoring the Secure Browser.
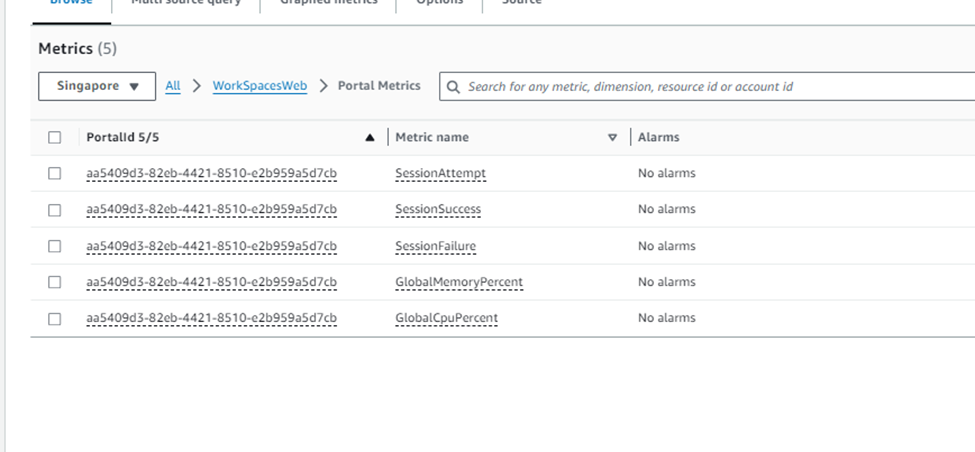
CloudWatch metrics can be utilized to monitor Amazon Workspaces Secure Browser. These metrics are defined under ‘WorkSpacesWeb’ and include five default portal metrics.
- Session Attempt
- Session success
- Session failure
- Global memory percentage
- global Cpu percentage

The kinesis data streams metrics can be also monitored using Cloudwatch.
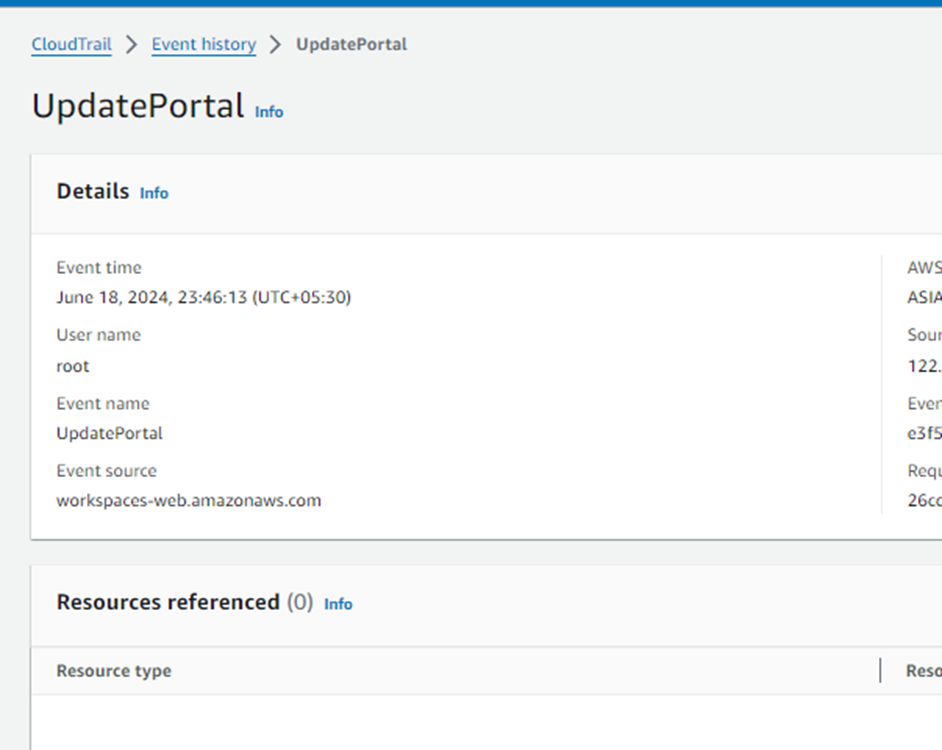
Auditing the WorkSpaces Secure Browser Admin activities
CloudTrail can be used to monitor the admin activities related to the Secure browser
The End User access logging can be monitored via Kinesis data stream logs.
The WorkSpaces secure browser is a good option for remote workers who only leverages Web/SaaS Applications as part of the day to day activities.
Hope this blog helps you to understand how secure browser can be configured in a real scenario.
