
In this blog, I am going to walk you all through the step by step process in creating a Microsoft hosted Cloud PC.
The first step in the W365 deployment is to assign the licenses to users. I have already shared the steps to assign licensing in my previous blog. https://amalcloud.wordpress.com/2022/08/09/assign-windows-365-licenses-to-users/
Once the licenses got assigned , navigate to Intune portal via https://endpoint.microsoft.com .Once you are in the portal, Click on Devices tab.

Select “Windows 365” under the provisioning pane.
Creating a Provisioning policy.
The 1st step in the Intune portal is to create a provisioning policy which will be used to deploy Cloud PC to a specific AD group. Select “Provisioning policies” tab and click on “Create Policy” to initiate the creation wizard.

In the General tab, Select the Name and Description of the policy.

In the Join type details, select whether you need your machine to be Azure AD joined or hybrid AD joined. Note:- Hybrid AD joined machines need a network connection establishment with your Azure network.
Select the Network from either Microsoft hosted network or Client hosted network. You need to create an azure network connection before selecting the Client hosted network. For this blog, I am select Microsoft hosted network.

Select the region where you need your Cloud PC to get deployed. Click Next
In the Image tab, Select the Image type from Gallery image or custom image. You can import custom Windows 10 images for provisioning Cloud PC.

After selecting the gallery image, the OS image gallery will be displayed and you can select from Win11 or Win10 Azure marketplace images.

Click Select after selecting the required image and Click Next.

Select the Language and Region settings for your Cloud PC. You can select from a variety of language options.


You can select Autopatch but require configuration. We will be covering Autopatch in a separate Blog. Click Next
In the assignments tab, select Add groups to add the required user group for which the provisioning policy need to be applied.


On the “review and Create” tab, click on “Create” to create the Provisioning policy.


Once the provisioning policy is created, Microsoft will start creating the Cloud PCs for the users who has a valid Windows 365 license and part of the AD group.
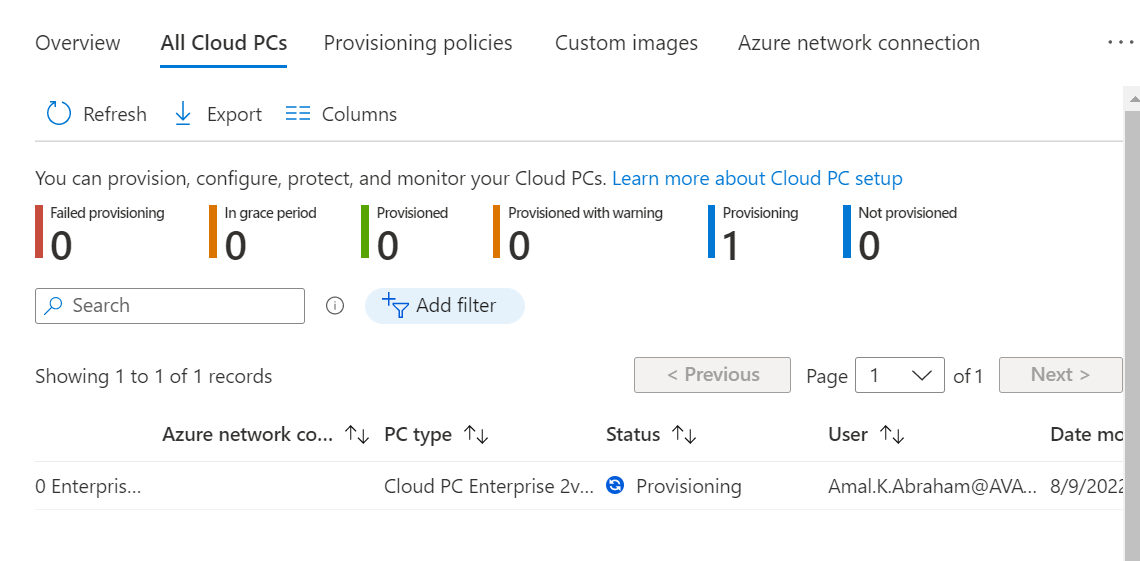
You can see the Cloud PC status under “All Cloud PCs”
Defining User settings
User settings in the Cloud PC tab allow admins to allocate Local admin rights to end users and also to allow the users to restore the Cloud PC to an earlier state.
To configure the user settings, Select User settings and Click on “+ Add”

In the general tab, provide a name for your settings.
Check the box if you need the particular users to get Local admin rights on the Cloud PCs.

You can select whether the users can restore the Cloud PC to an earlier state.
Users can select the frequency of restore-point service from 4 hours to 12 hours interval.
Click Next and in the assignments tab, click on Add groups to add the user AD group assignment.
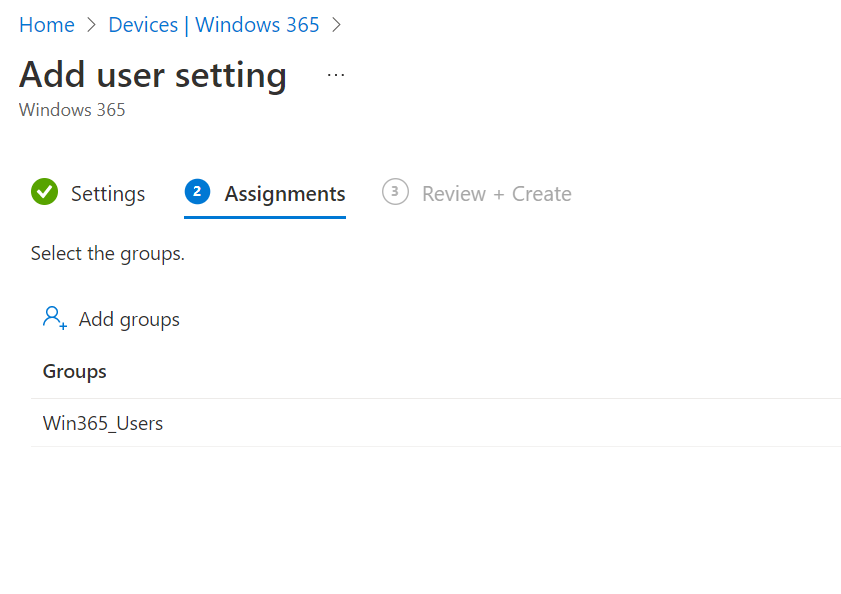
Select the AD group and Click on Next

On the review and Create page, Click on Create to create a user settings specific to an AD group.
The next blog will be detailing about how to create a custom image, importing the custom image for W365 creation, configuring Azure network connection.
Stay tuned.

2 thoughts on “Step by Step guide for Creating W365 aka Cloud PC ( On Microsoft Hosted Network)”